![]()
How to Start a Food Blog
Disclosure: This post may contain affiliate links.
Step 1 – Decide your blog name and buy a domain name:
Choose a food blog name that:
- matches your brand, style and message
- is relatively short
- is easy to remember, say and spell
- is available
Brainstorm ideas and really think about it. Your blog name will be your brand. Once you choose a food blog name, purchase it through a domain registry like GoDaddy.
Step 2 – Host your food blog with a reliable web host:
Once you decide how to start a food blog, I highly recommend self-hosting your blog. If you are first starting out, the free WordPress.com will work, but it is severely limited. You cannot install free or purchased custom themes or additional plugins. These alone are a must if you want a customizable and user-friendly blog. A self-hosted site is more reliable and has amazing customer support. They will install WordPress for you and can help you along the way. They provide unlimited transfers, storage and traffic; all very good things. I’m currently using CloudWays and love it.
Step 3 – Install WordPress
If you’re self-hosting this step is automatic and very easy or you can ask your hosting provider or developer for help.
Step 4 – Make it pretty by installing a custom WordPress theme
You want to use a theme that is:
- Easy for viewers to use and navigate. There should be clearly laid out menus, readable structure, and the ability to show your amazing content in a visually appealing way. It should also be responsive for mobile and tablet viewing.
- User friendly. You want a theme that you can customize with built-in editing options. Features like using custom logo and/or header, fonts, colors and sidebar. You should be able to do all this without custom coding.
- Search Engine and Social Media optimized. Content should be formatted and displayed so it is ranked in search engines. Built-in social media sharing buttons is a great feature. You can also optimize you site with additional plugins.
Here are some of my recommended WordPress theme providers:
1. Genesis Framework: Provided by Studiopress. This is the framework behind their responsive, customizable, and search engine optimized themes.
2. Studiopress Themes: They feature multiple themes, including the Foodie Theme, specifically created for food blogs. Below is a list of recommended food blog themes by this studio.
 |
|
 |
3. Thesis Theme: Provided by DIY Themes. Options galore, highly customizable theme options, and a helpful support community.
Step 5 – Add additional features and plugins
Here’s a list of highly recommended add-ons to make your food blog more beautiful, user friendly, and search engine optimized (these are all free or have free options):
- Askimet: Filters out spam on your comments. This is an absolute must.
- Easy Recipe: This is how you create recipes for your blog posts. Auto formats text into recipe layouts and is Google recipe search engine optimized.
- Feedburner: Allows you to set up RSS feed as a way for your readers to subscribe to posts.
- Google Analytics: Track users, page views and overall statistics of your blog.
- Google Web Master Tools: Scan and view details of your site to make sure it’s set up properly.
- Jetpack for WordPress: Way too many incredibly useful features to list in this post. From the developer: “Supercharge your WordPress site with powerful features previously only available to WordPress.com users”
- jQuery Pin It Button For Images: Adds a customizable floating Pinterest Pin It button when you hover over an image. This means for shares on Pinterest.
- Mailchimp: Create a subscription box on your site to keep readers connected. Send out email campaigns for new posts as well as specific content.
- Pinterest Rich Pins Validation: Rich Pins allows your pins to list ingredients in that fancy preview page on Pinterest. This is a big one, people are much more likely to view and share your pins with this added information.
- W3 Total Cache: Speeds up your website and load times. This is better for your readers as well as search engine rankings.
- WordPress Backup to Dropbox: Set up a scheduled backup to download all the contents of you blog to your computer and online dropbox. You don’t want to lose al your hard work; this is self explanatory.
- WordPress SEO by Yoast: Takes care of most of your search engine optimization needs. Easy to use form fields to make sure your blog and posts are recognized best by search engines. This means more exposure.
Step 6 – Start your food blog and posting TODAY; stay focused, work hard, don’t ever stop, and love every minute of it
For a less technical, more creative, look at how to start a food blog, check out my infographic below:
How to Start a Food Blog by Plating Pixels

Are you following me on Twitter, Pinterest, Facebook and Instagram? Also sign up for our newsletter to get all our content.
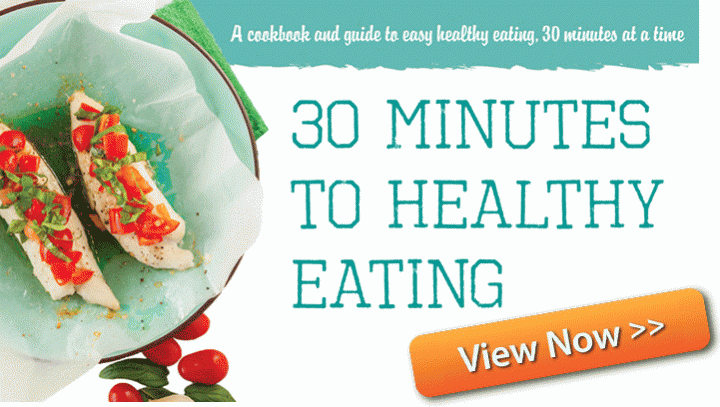
Download our 30 Minutes to Healthy Eating Cookbook Ebook and Meal Planner: